

Terminal Makeover: Oh My Zsh Edition (MacOS)✨

IT & DevOps professional driven by curiosity, strong instincts, and attention to detail. Experienced across infrastructure, automation, and operations, with a love for problem-solving, teaching, and building trust. Outside work, I enjoy travel, photography, long drives, swimming, and exploring the blend of art, science, and spirituality.
Ahoy! I am Rachit. I’m all about visual customization — whether it’s making my Windows look like macOS or decking out my terminal with a snazzy new look. Who needs defaults when you can make everything pop?
So, if you’re tired of your terminal’s plain Jane appearance and ready for a change, I’ve got you covered. Let’s dive into transforming that boring old terminal into something fabulous!

iTerm2 Customized Terminal using powerlevel10k on MacOS.
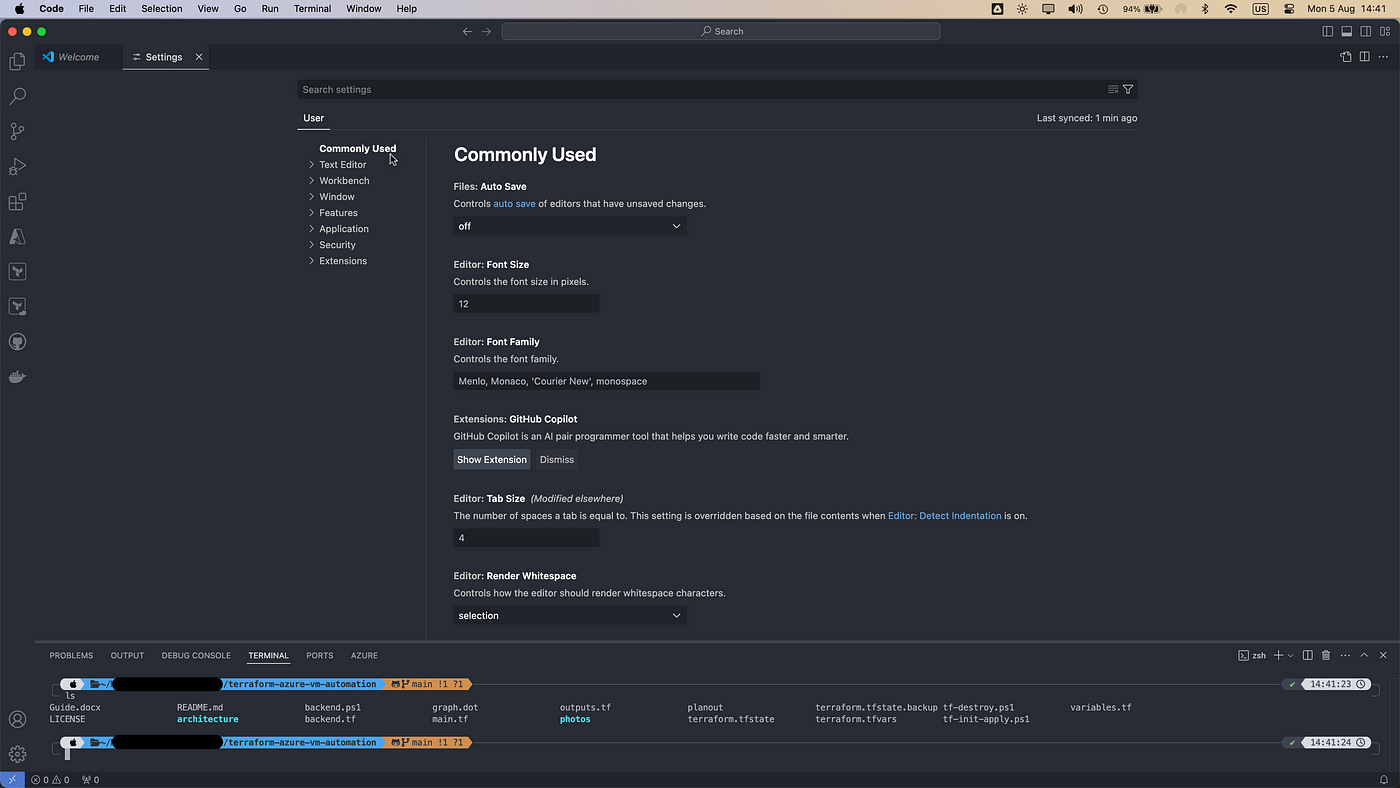
Microsoft Visual Studio Code Customized Terminal.
How to Transform Your Terminal on macOS
1. Install iTerm2 (Optional but, I prefer!)
First things first: grab iTerm2 from the official website and install it. Trust me, you’ll love the upgrade!
Update to latest version if you already have it!
2. Get Oh My Zsh
Open up your terminal and run this command to get Oh My Zsh rolling:
sh -c "$(curl -fsSL https://raw.githubusercontent.com/ohmyzsh/ohmyzsh/master/tools/install.sh)"
3. Add Some Spice with Powerlevel10k
Step 1: Clone the Repository
Let’s give your terminal some serious style. Run this command to clone the Powerlevel10k theme into your Oh My Zsh themes directory:
git clone --depth=1 https://github.com/romkatv/powerlevel10k.git ${ZSH_CUSTOM:-$HOME/.oh-my-zsh/custom}/themes/powerlevel10k
powerlevel10k already installed? Run below commands and update to the latest!
cd ${ZSH_CUSTOM:-$HOME/.oh-my-zsh/custom}/themes/powerlevel10k
git pull
This command will fetch and merge the latest updates from the powerlevel10k GitHub repository into your existing directory.
Step 2: Update Your .zshrc
Edit your .zshrc file:
nano ~/.zshrc
Find the line that says ZSH_THEME and change from ZSH_THEME="robbyrussell" to:
ZSH_THEME="powerlevel10k/powerlevel10k"
Exit with Ctrl + X, then press y to save changes, and press enter to save the .zshrc .
4. Install Nerd Fonts
Now, press ⌘ + N to open a new iTerm2 window. You’ll be asked to install the Meslo Nerd Font, which is crucial for Powerlevel10k. Hit y to install it.
5. Configure iTerm2
Time to jazz up iTerm2!
Reopen iTerm2 — if it’s being a bit stubborn, you might need to force quit and restart. You’ll be greeted with some exciting configuration options, like picking out rainbow colors and enabling Unicode support.
Go wild and make it uniquely yours!
Feeling a bit of buyer’s remorse after setting up? No worries! If you’re second-guessing your choices or just want to try something new, you can always reconfigure Powerlevel10k with:
p10k configure
Troubleshooting Your Terminal Makeover
1. Nerd Fonts Not Showing Up?
If you’re having trouble with Nerd Fonts, you can manually download and install them:
For more info, check out Powerlevel10k Issue #671.
Note: You might need to restart your MacBook to see all the changes.
2. Theme Still Acting Up?
If your theme isn’t displaying correctly, you might need to set the font to MesloLGS NF manually across all your apps:
macOS Terminal: Go to Preferences > Profiles > Text and select
MesloLGS NF.iTerm2: Go to Preferences > Profiles > Text and set
MesloLGS NFas the font.Visual Studio Code: In Settings, search for
terminal.integrated.fontFamily, and set it toMesloLGS NF.
Pro Tips to Up Your Game!
1. Enable Auto-Suggestions
Step 1: Install the Plugin
Clone the zsh-autosuggestions repository:
git clone https://github.com/zsh-users/zsh-autosuggestions ${ZSH_CUSTOM:-~/.oh-my-zsh/custom}/plugins/zsh-autosuggestions
Step 2: Update .zshrc
Edit your .zshrc:
nano ~/.zshrc
Add zsh-autosuggestions to the plugins list:
plugins=(git zsh-autosuggestions)
Exit with Ctrl + X, then press y to save changes, and press enter to save the .zshrc .
Step 3: Apply the Changes
Reload your zsh configuration:
source ~/.zshrc
Open a new terminal session to see auto-suggestions in action!
2. Make iTerm2 Background Transparent
In iTerm2:
Go to Settings > Profiles > Window tab.
Find the
Transparencyslider and adjust it to your liking.
In macOS Terminal:
Open Terminal and go to Settings > Profiles > Text tab.
Under the Background, click on the
Colour & Effectsand adjust theOpacityslider to set your preferred transparency.
Note: I find 52% to be just right, but feel free to set it to whatever suits your style!
Enjoy your snazzy new terminal setup! If you have any questions or run into issues, feel free to reach out. Happy customizing! 🚀💻
If your iTerm2 has stopped reusing the previous session’s directory and always takes you to the home directory, please refer my quick fix here.


